

Disclosure: This post contains affiliate links. I may earn a commission from qualifying purchases at no extra cost to you. 🩷
Hey guys!
Sooo I did a DIY sew-in install… and I cannot stop staring at it.
If you know me, you already know I usually do my own braids, quick styles — the usual DIY hair activities. But a sew-in? Yeah… that was new. And honestly? I think I outdid myself 🫣💅🏽
This is one of those moments where you finish, look in the mirror, and go:
“Wait… I did this??”
Let’s get into it.
The Hair Details 🧵✨
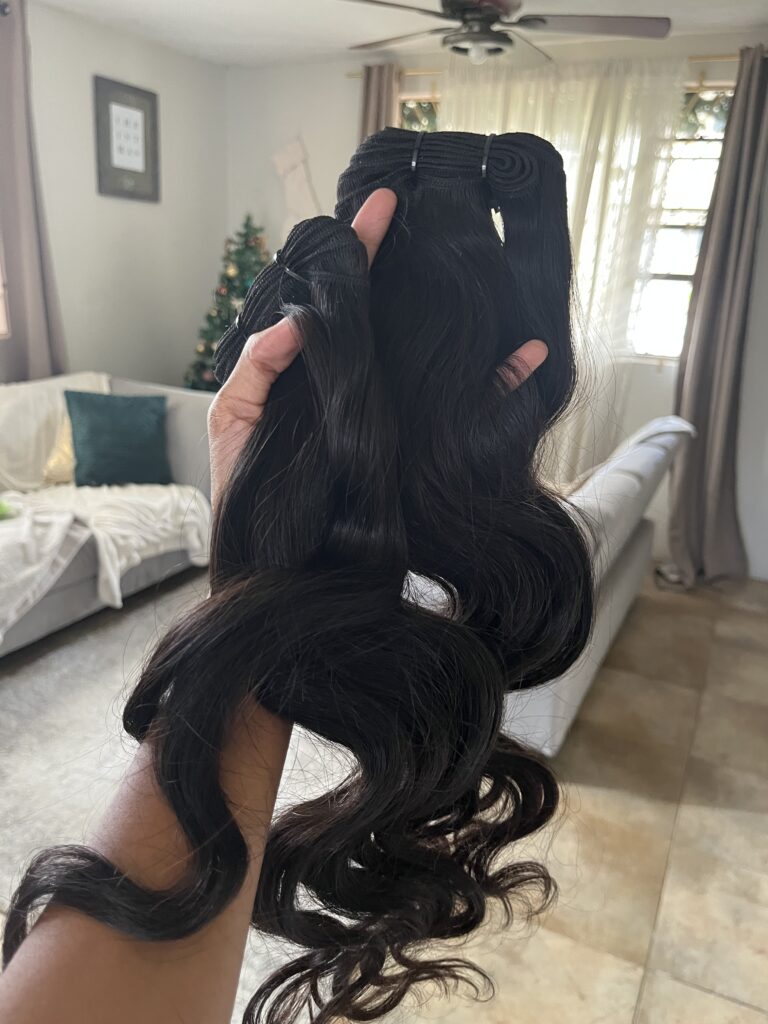
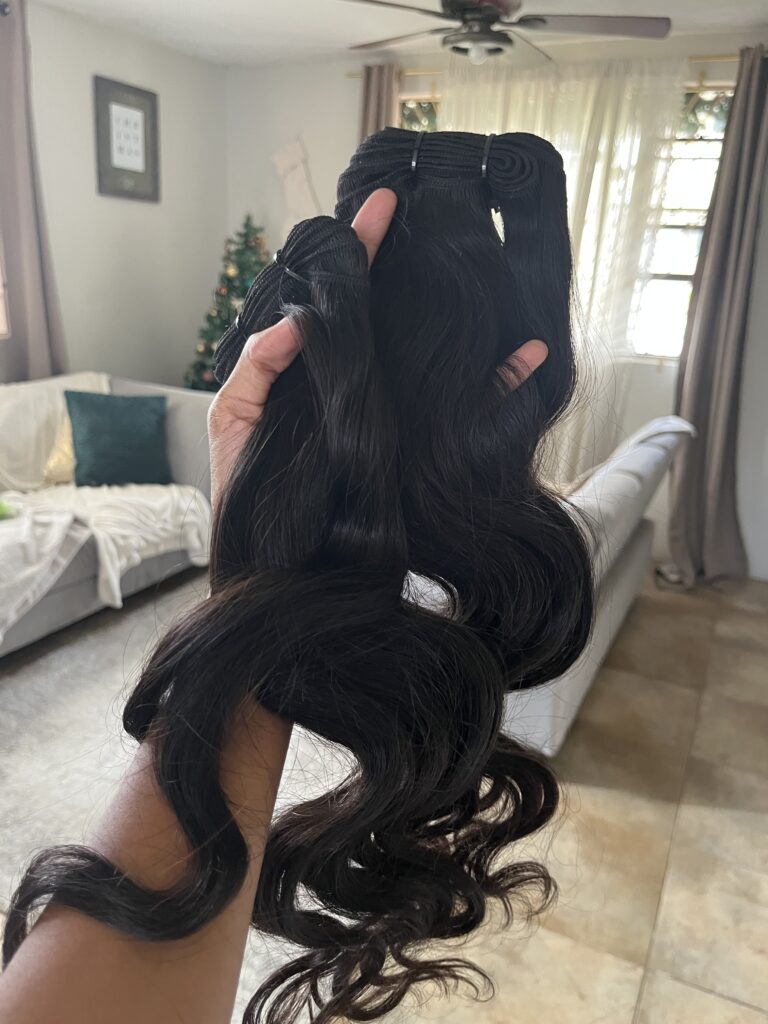
For this look, I used body wave bundles from Exclusive VIP Hair Extensions in Barbados — both 18 inches. The texture was giving soft, bouncy and thick.
Stepping outside my comfort zone lately
BUT… the hair came black and my natural hair is more on the brown side. So obviously, we had to fix that.
Dying Black Hair Brown… WITHOUT BLEACH 😌🎨
I used to believe that whole “you can’t dye black hair without bleaching it first” myth.
LIES.
Bold-faced lies.
The last time I dyed hair, I bleached it and yeah, it turned out fine — but something told me to actually research this time.
👉🏽 I went straight to YouTube.
And guess what?
TONS of people were dying black hair brown with NO BLEACH.
It’s 2025. We really need to stop listening to people without checking for ourselves 😂
Do your own research, seriously.
What I Used:
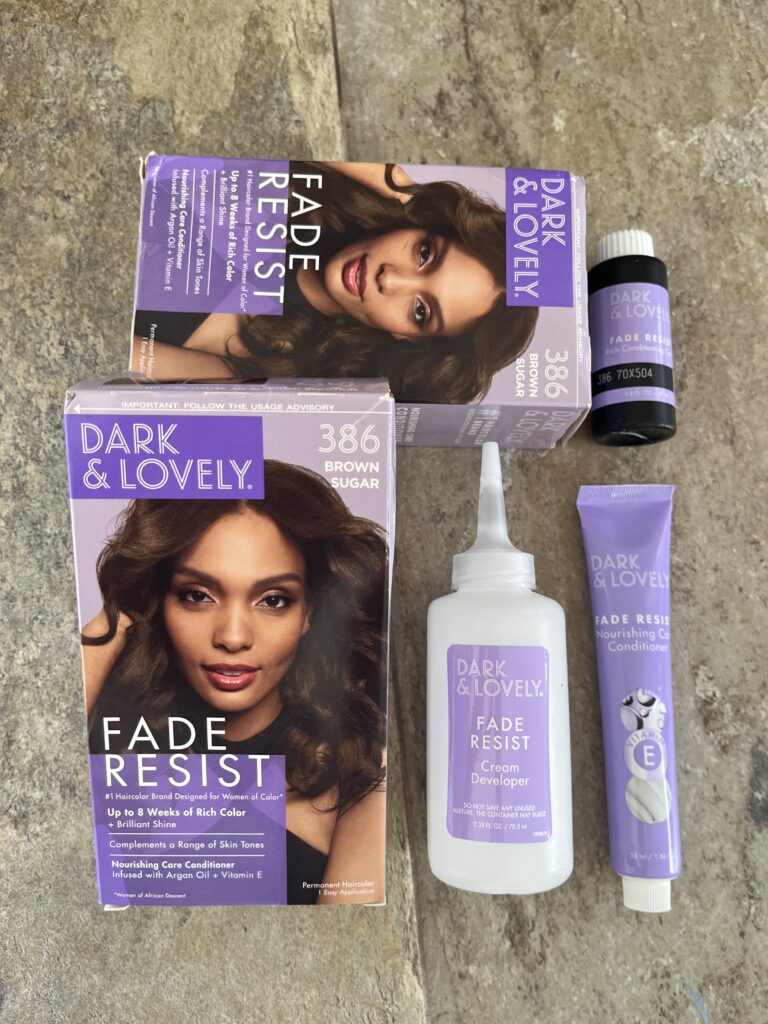
- Dark & Lovely Permanent Hair Dye
- Shade: Brown Sugar
- Gloves, developer, conditioner (came in the kit)
- Fine-tooth comb (my secret weapon)
How I Dyed the Bundles (Step-by-Step) 🪄
Step 1:
Unravel the bundles and spread them out evenly.
Step 2:
Gloves ON. No exceptions.
Step 3:
Mix the developer and dye together.
Step 4:
Now make art, girl! 🎨
I literally smeared the dye all over the hair and used a fine-tooth comb to distribute it evenly. Make sure every strand is covered. You can use a dye brush — this is just my preferred method.
Processing Time:
Let it sit for about 30 minutes. Go watch TV, scroll TikTok, live your life.
Rinse:
Rinse until the water runs clear. That’s it.
Conditioning = Longevity 💧✨
Once rinsed, I detangled the hair ends to weft (please don’t start at the top 😭).
Then I applied conditioner generously — the same way you’d care for your own hair.
This step is KEY if you want the hair to stay soft and last.
Let the conditioner sit for 45 minutes, rinse, and then:
- Air dry (what I did)
- Or blow dry
As long as it’s dry, you’re good.
And BOOM 💥
A rich, chocolate brown that actually matched my hair. I was impressed.
👉🏽 Check out my YouTube Short if you want to see this part in action.
DIY Sew-In Install Time 😮💨🧵
Now THIS is where things got interesting.
What You’ll Need:
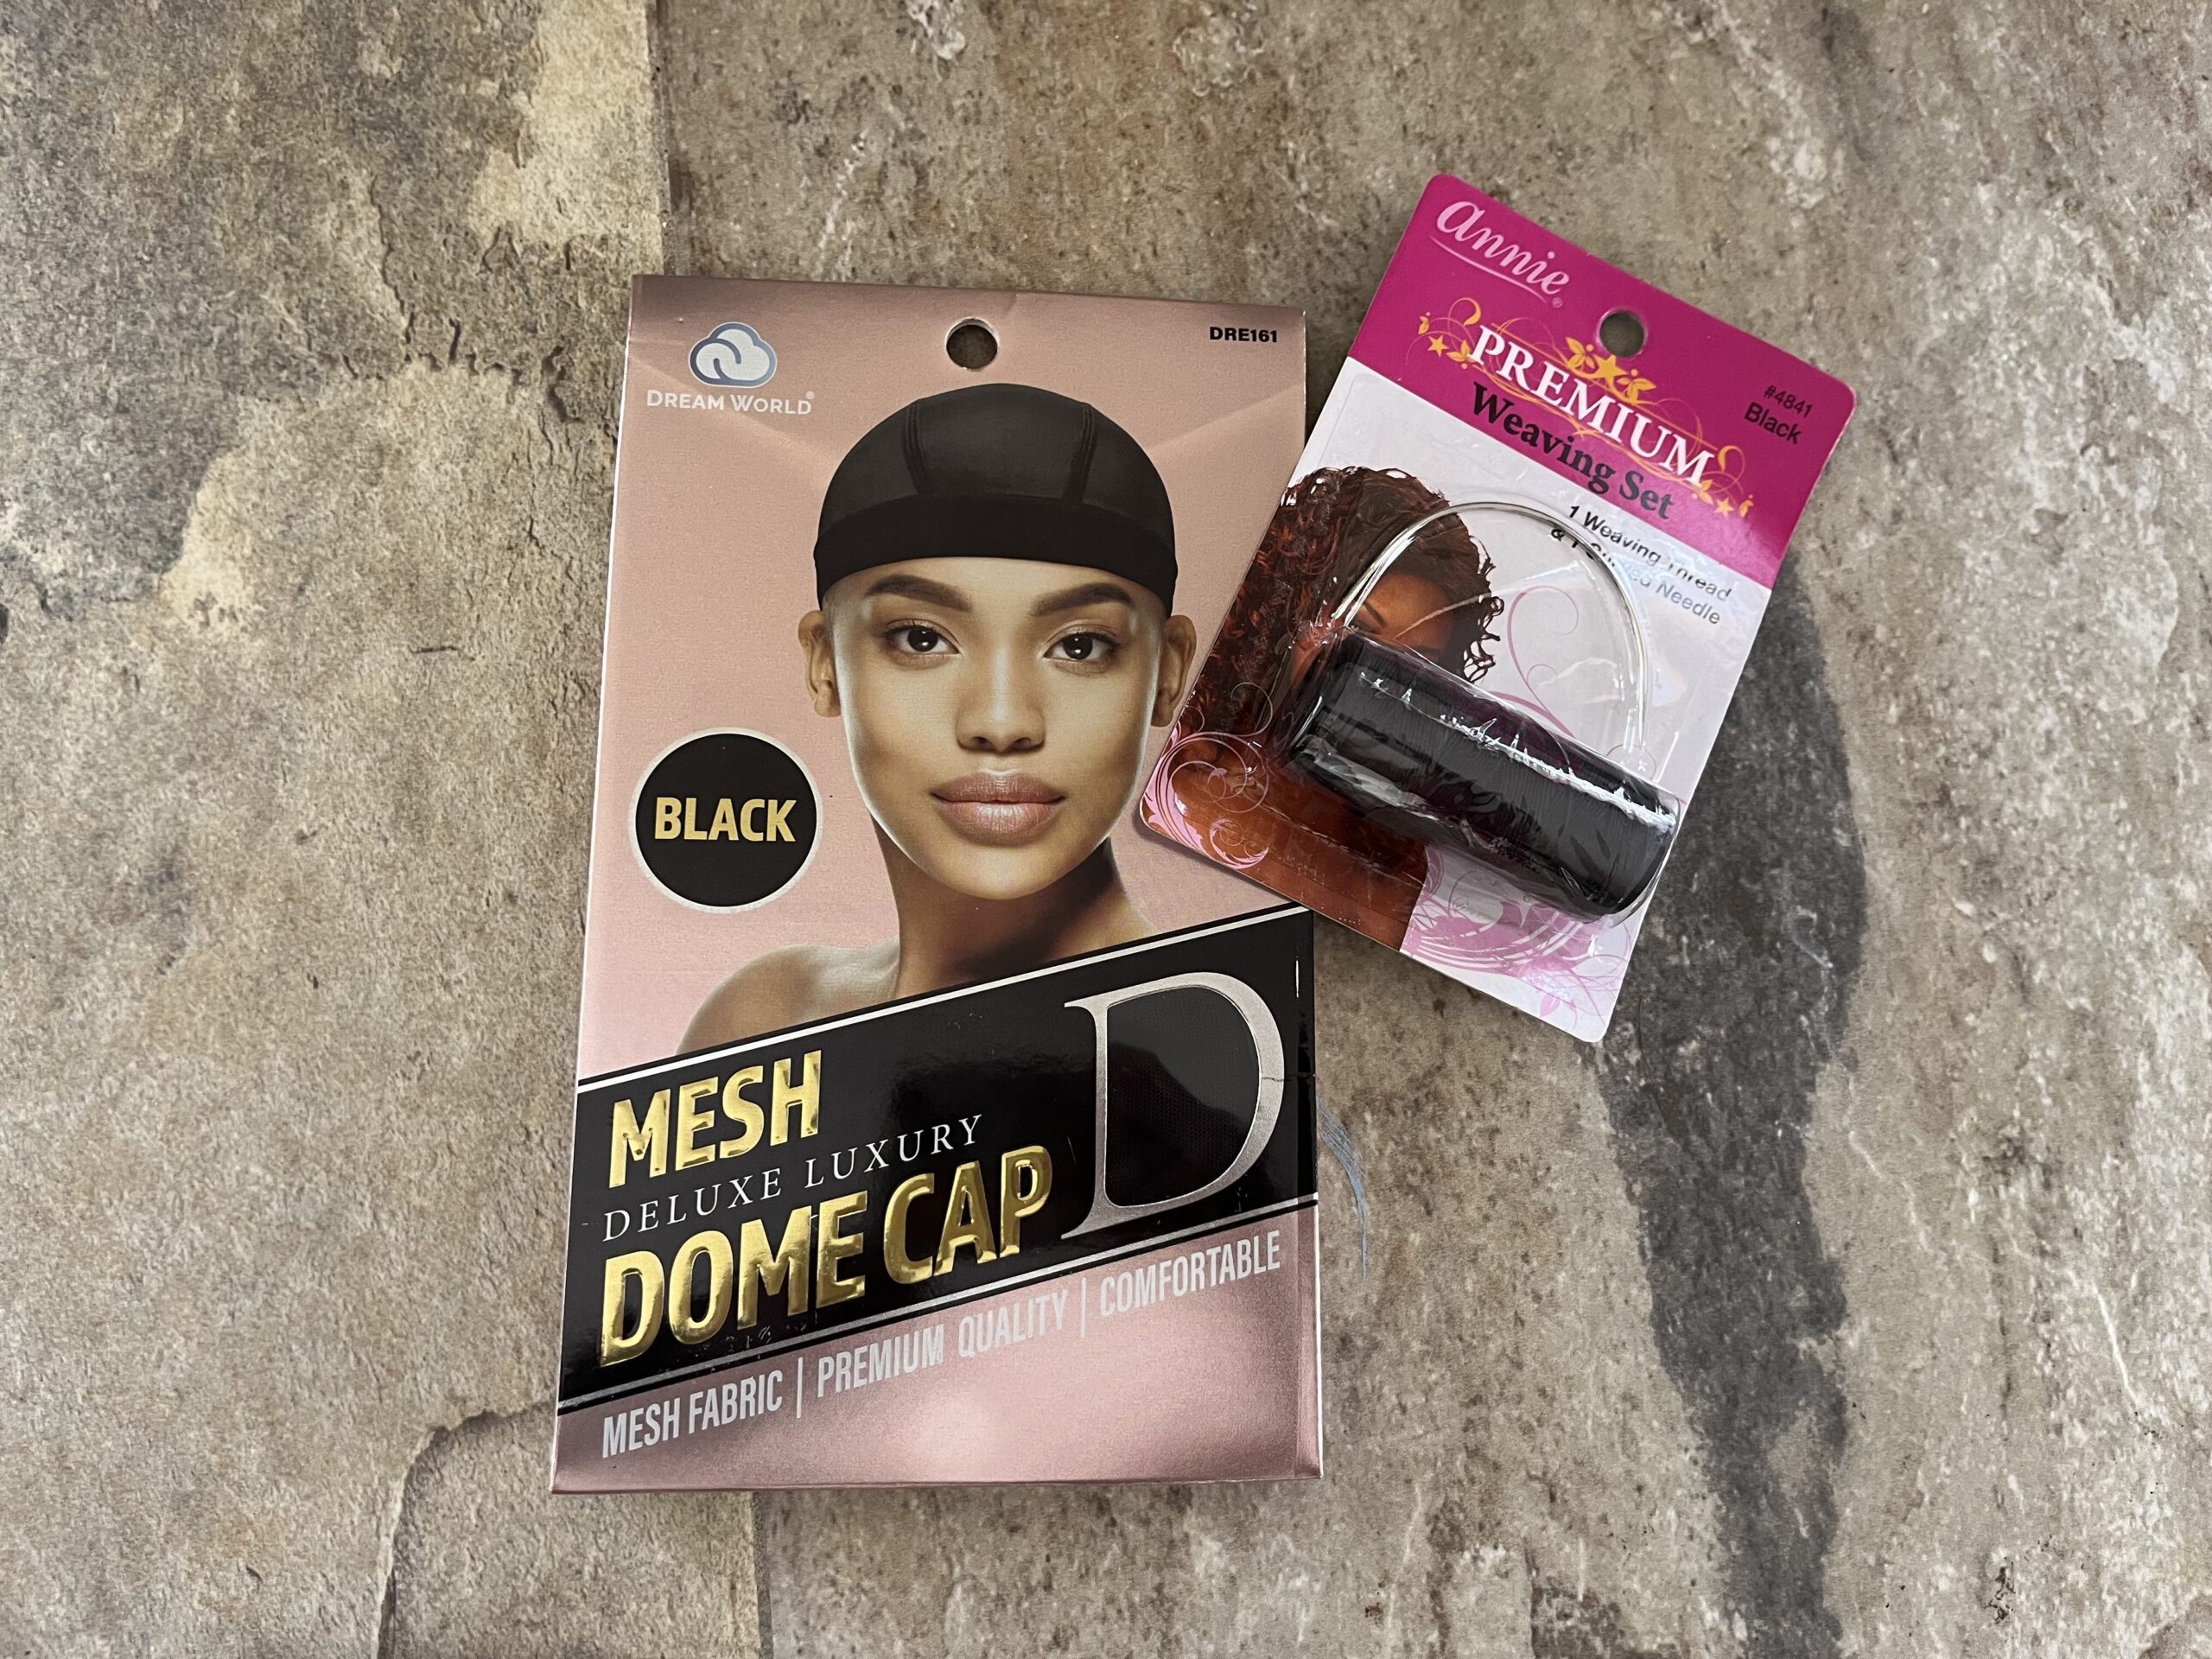
- Curved sewing needle (trust me)
- Weaving thread
- Scissors
- Comb
- Weaving cap (optional)
I went for a deep side part, so the first thing I did was part my hair and start the braid-down.
Let me be honest with you…
This took me 2–3 hours 😂
Not because it’s impossible — but because I couldn’t SEE properly.
I might need to invest in a 360 mirror because whew.
About the Weaving Cap 👀
I planned to use a cap.
But then I imagined myself accidentally cutting my real hair and said… absolutely not.
So I skipped the cap and sewed the bundles directly onto the braid-down. This is very common, despite what people say.
Some folks swear the cap helps the sew-in last longer — but I’m only keeping this in for about 3 weeks, so I wasn’t stressing.
Use the cap if you want.
Skip it if you don’t.
The hair will still EAT either way 😌
Styling the Hair (The Final Boss) 🔥
By the time I finished dying and installing a sew-in using both bundles, it was already late.
I started around 2 PM… and let’s just say it was 11 at night by the time I wrapped up 😂
But we were in too deep to quit.
Styling Tools:
- Flat iron
- Curling iron
- Heat protectant (DO NOT SKIP THIS)
I use a serum, but a spray works too. Protect the hair or regret it later.
Now listen…
This curling iron and I almost had a situation.
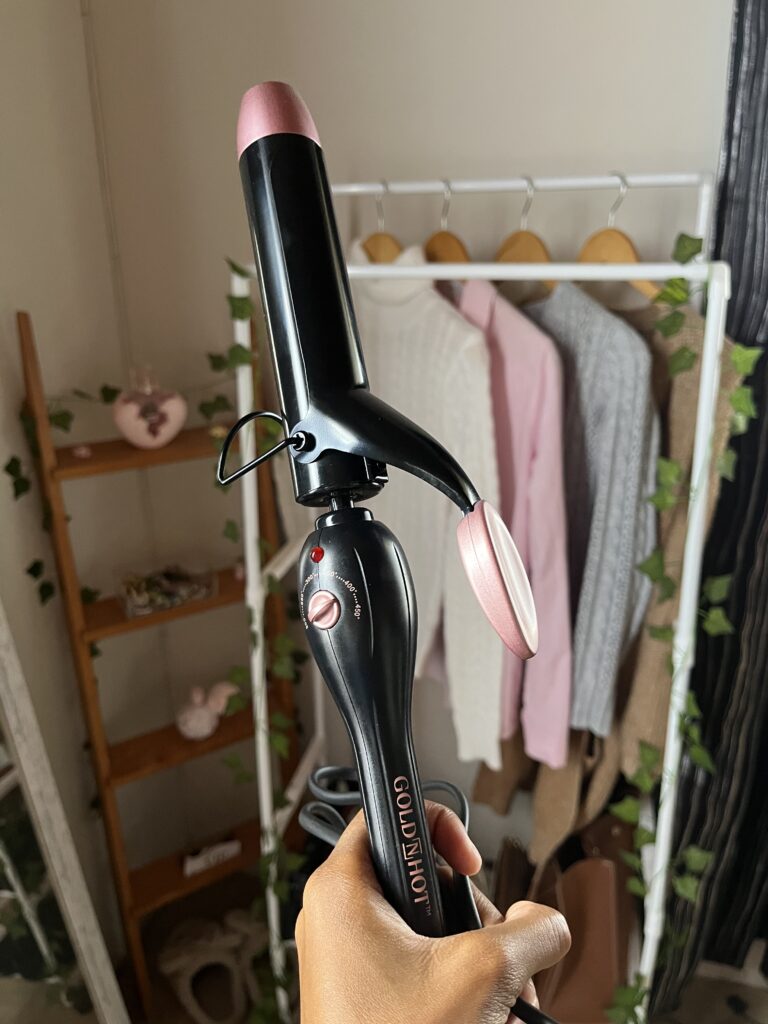
Nothing was curling. I was tired. I had work the next day.
But after watching a few YouTube videos, I finally found a rhythm.
I’m a curling wand girl, okay?? Don’t judge me 😂
The Final Look after dying and installing a sew-in 😍✨
Once everything was styled…
I actually couldn’t believe how good my DIY sew-in install turned out.
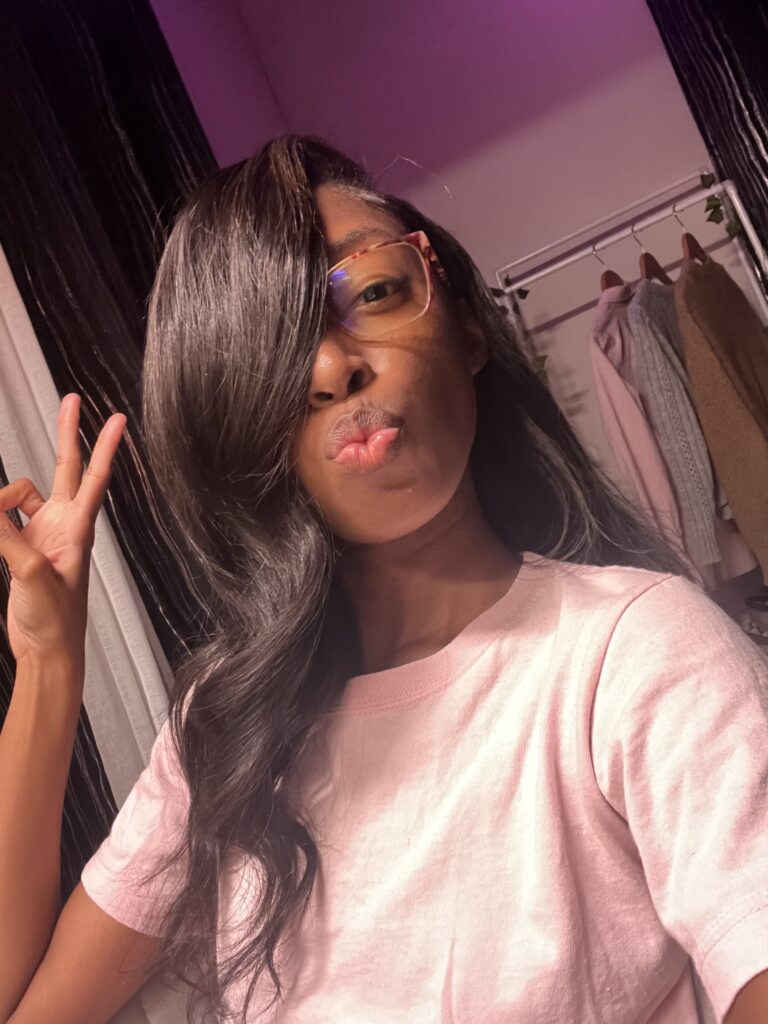
The color? Seamless.
The install? Secure.
The vibes? Immaculate.
And now that I know I can do this?
Congratulations to me — I’ve unlocked another way to stress myself out 😂
But hey, it paid off.
👉🏽 Watch the full video here to see the entire process.
TTYL 👋🏽💕




Leave a Reply