It Started With the Bathroom Cabinets… Obviously 🙄
Remember when we painted the bathroom cabinets? Yeah… that little project didn’t just end there. It inspired me — and by inspired, I mean bullied me — into adding another home project to my list 😂.
Because if I’m already sprucing up the house for Christmas, I might as well include everything, right?
Right?? cries internally.
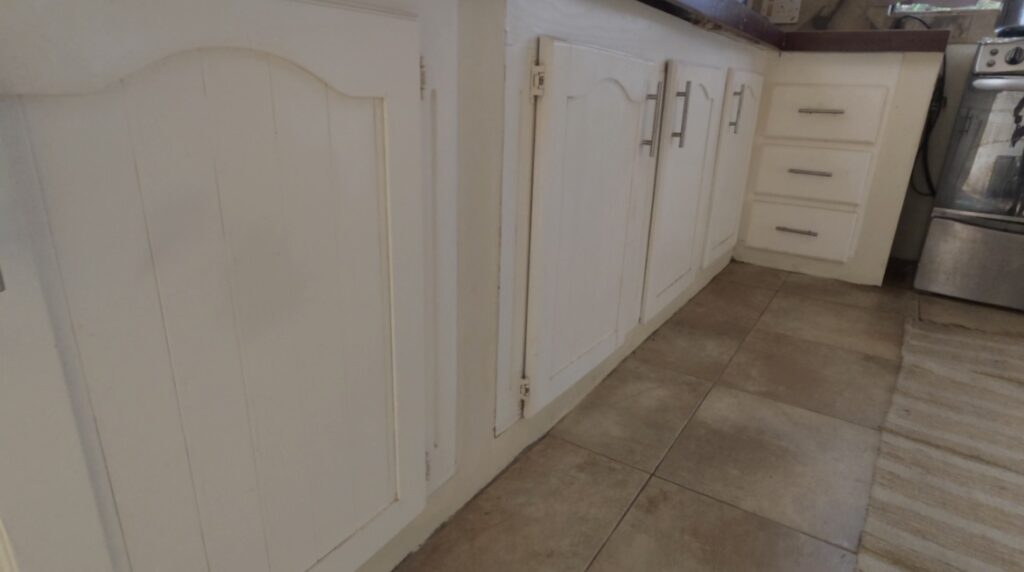
Why My Kitchen Cabinets Needed a Refresh 🏠
My kitchen cabinets were tired. Like… tired tired. They were starting to look old and dirty, and no matter how much I tried to keep them clean, they just weren’t giving. At that point, a refresh was necessary — and let’s be honest, a fresh coat of paint can make almost anything look better.
To KOOYMAN We Go (Just for Paint… Allegedly) 🛒😌
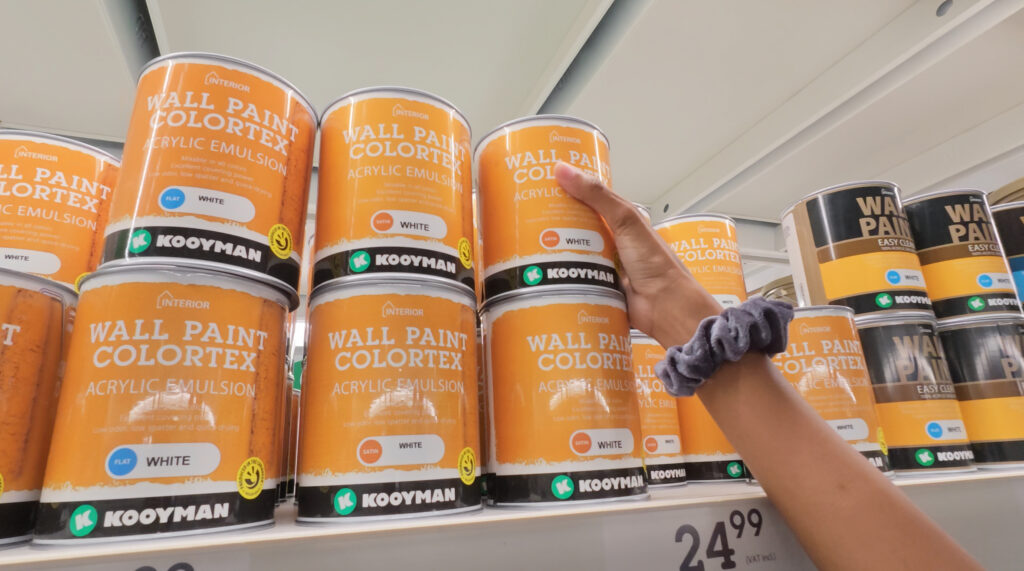
So off to KOOYMAN we went with one simple mission: get paint and leave. No browsing. No thinking. No basket required.
UNTIL we asked for assistance.
That’s when the rep casually mentioned the green basket sale.
Anything you put in the basket was 20% off. EACH.
I’m sorry… what?! It’s not even Black Friday and I get to save money?! One green basket please, THANK YA 🤭.
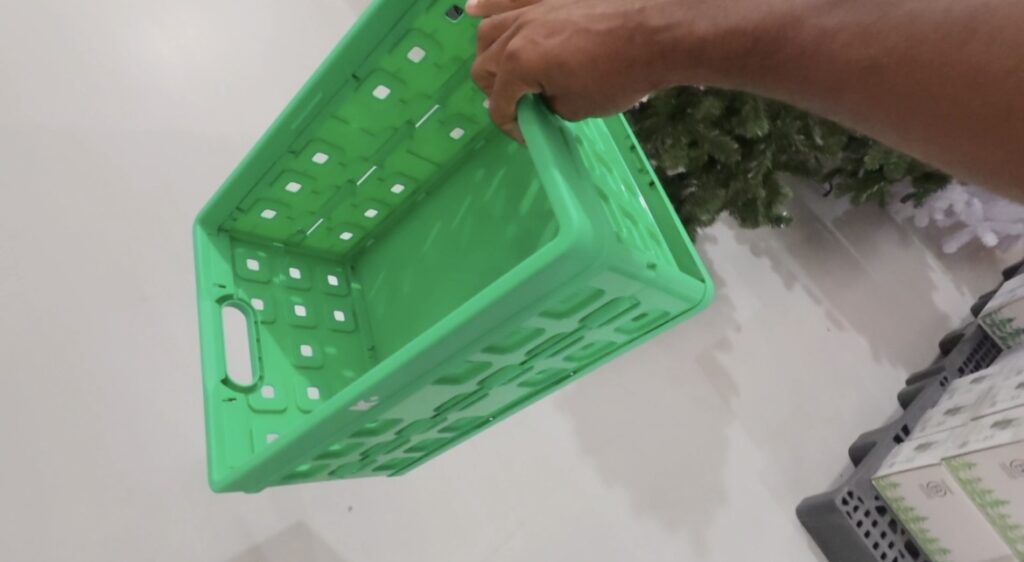
Basket secured, grabbed two cans of white paint, and I walked out with a 40% discount. And guess what? It was a one-day sale. Look at GOD.
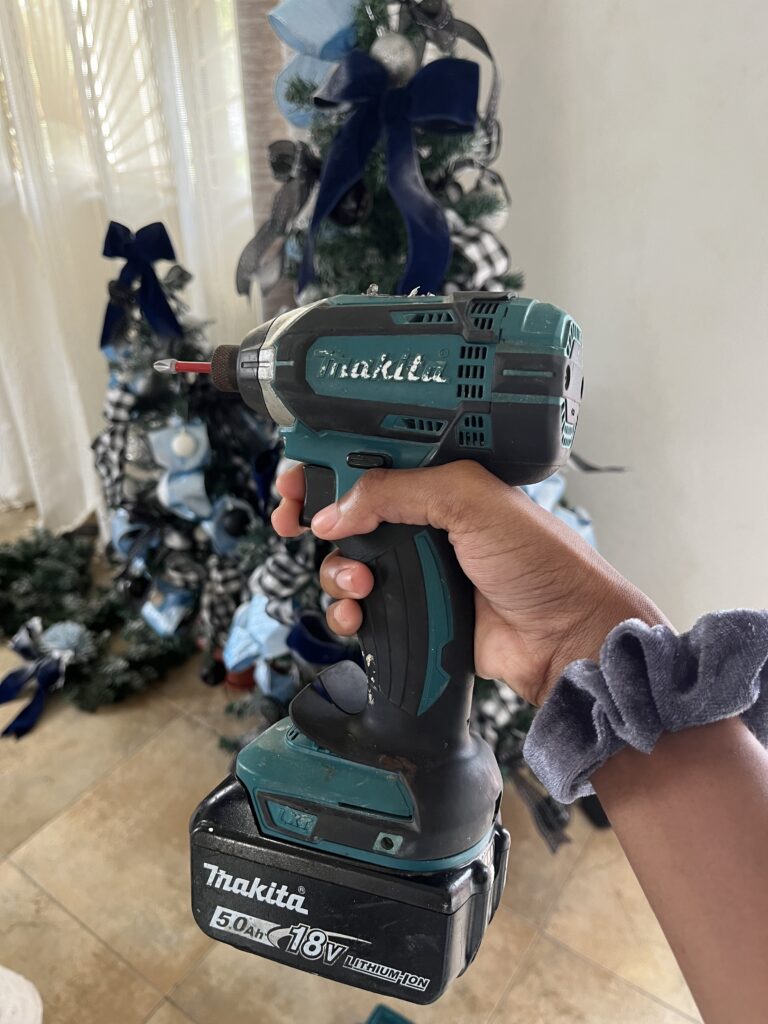
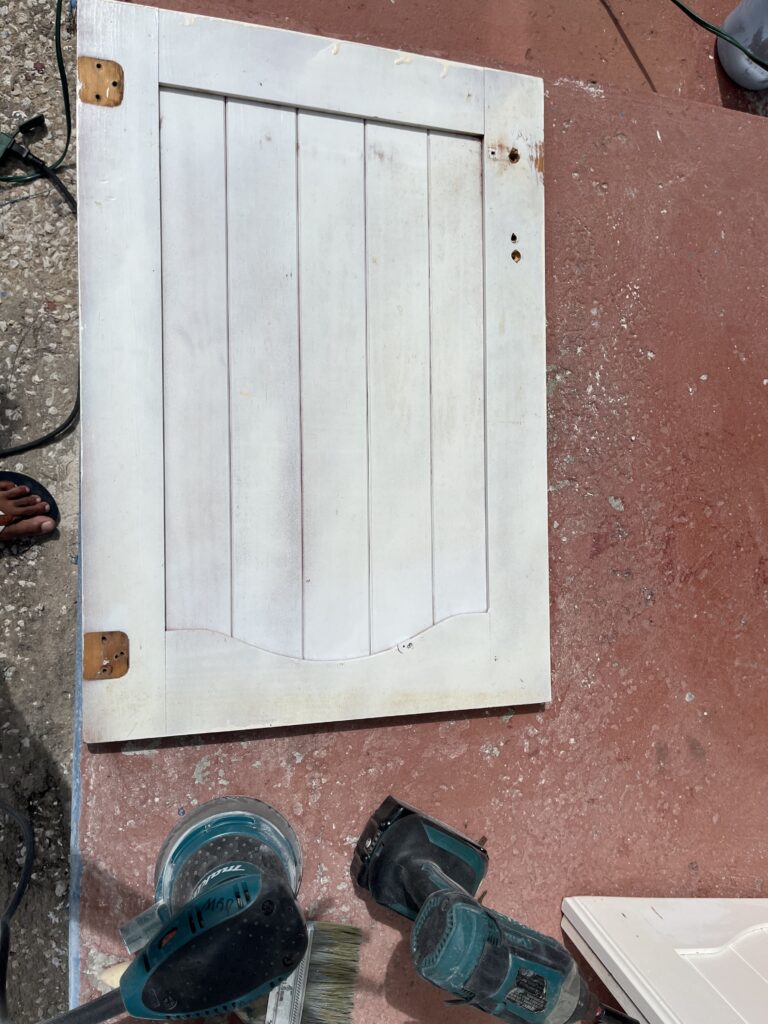
Impact Drill Activated 🔩😮💨
Back home, it was time to work. I pulled out the impact drill and got straight to it. First, the cabinet doors came off (duh 🙄), then the hinges, then the handles. You can’t properly paint cabinets if everything is still attached — that’s just chaos.
Sanding: Please Learn From My Mistakes 😭😷
Next up: sanding. What? you thought you could just slap paint onto whatever was there before? I’m sorry, but this project needed to give masterpiece, not monstrosity.
Also, maybe DON’T be like me and actually wear your PPE. Gloves. Goggles. Mask. You know, that type of stuff. Because I didn’t… and I looked like I was sanding myself instead of the cabinets. Learn from me.
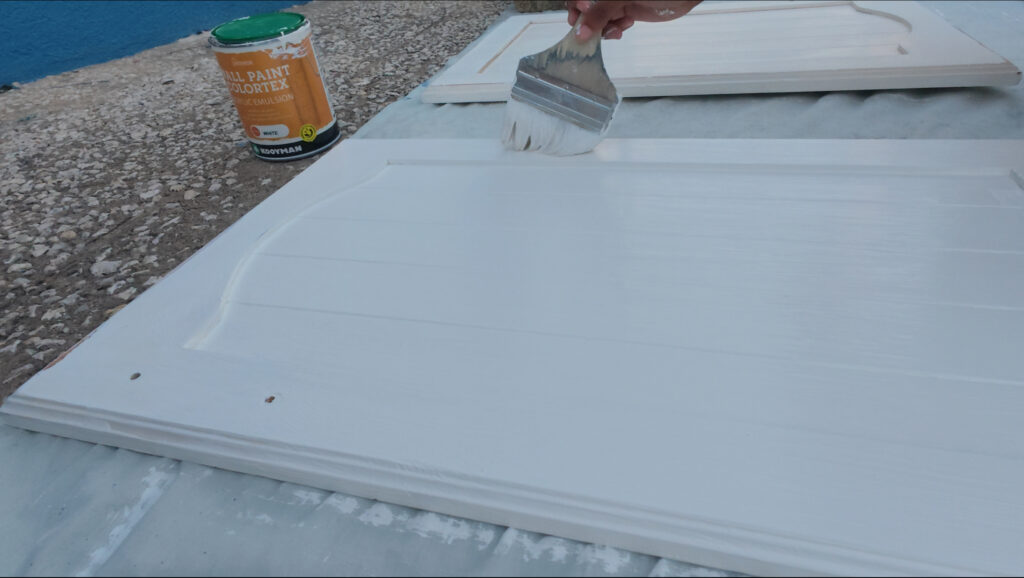
Painting Time (My Favorite Part) 🤍🎨
Once everything was sanded down nice and smooth, it was finally time to paint — easily my favorite part. I love painting, so this was honestly therapeutic.
And white paint? Always a win. It instantly makes a space feel brighter, cleaner, and more open. Plus, white cabinets go with literally any décor or accent color. It never misses.
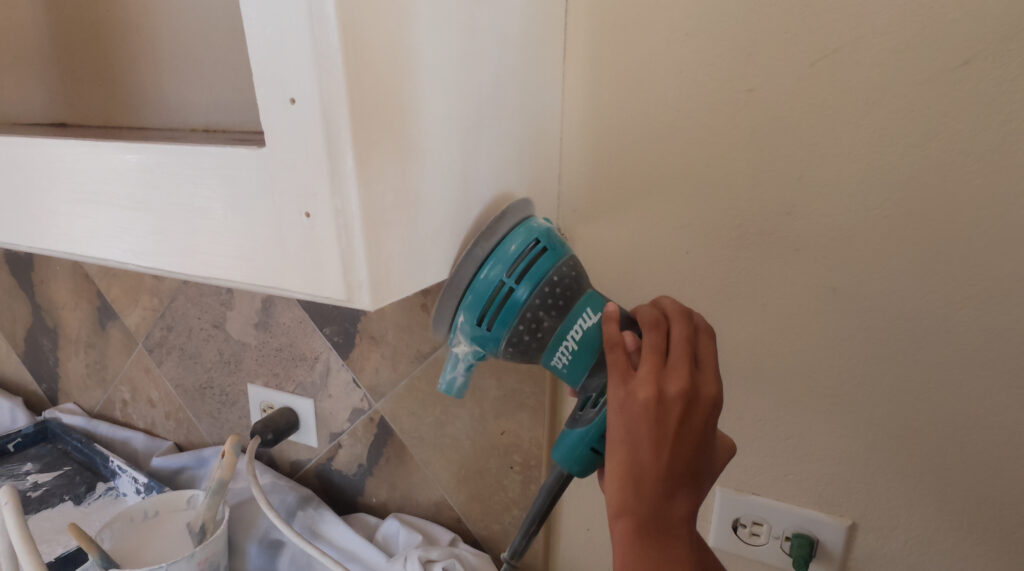
We’re Not About to Skip the Cabinet Frames 😐🪵
While the cabinet doors were drying, I headed back inside to sand the actual cabinet frames. Because what sense does it make to refresh the doors and leave the rest untouched? Exactly. We are not lazy over here.
Say it with me: masterpiece, not monstrosity.
Two Coats & Reassembly Time 🔧✨
After sanding the frames, I painted everything using two coats for a smooth, even finish. Once everything dried, I grabbed the drill again and started reassembling the cabinets.
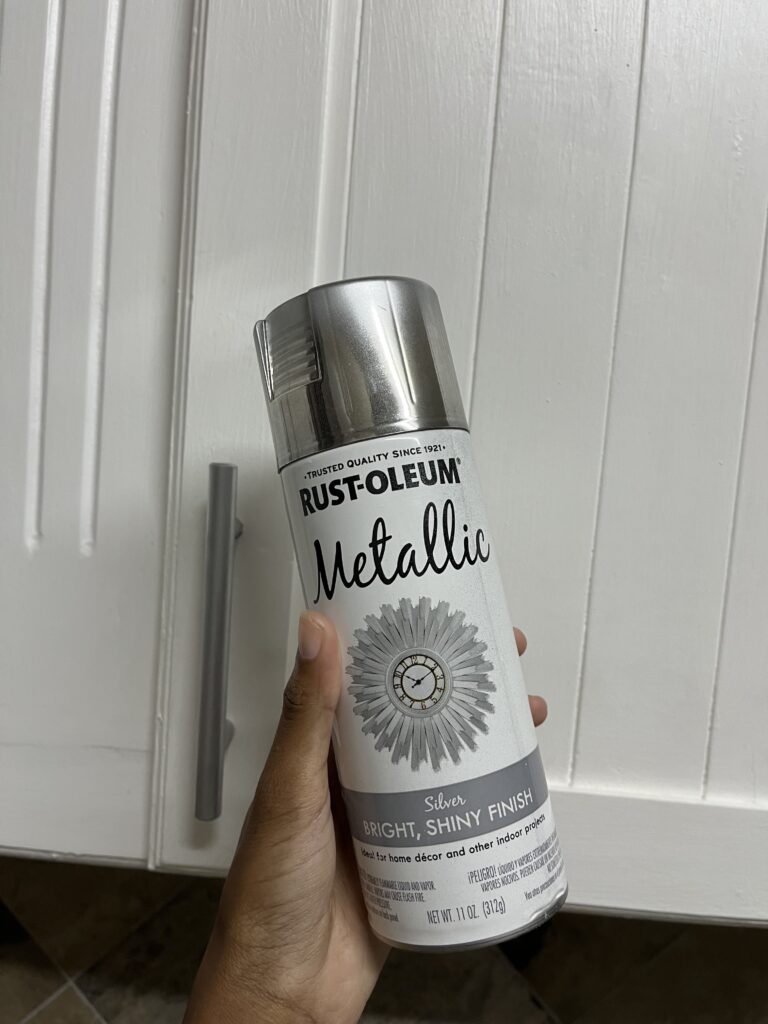
A Little Hardware Glow-Up ✨
Remember how the handles were getting rusty? Yeah… I fixed that too. I sanded them down using sandpaper (you could also use a sanding block) and spray-painted them silver. I didn’t document that part (tragic, I know), but trust me — it worked like a charm. The handles and hinges honestly look brand new.
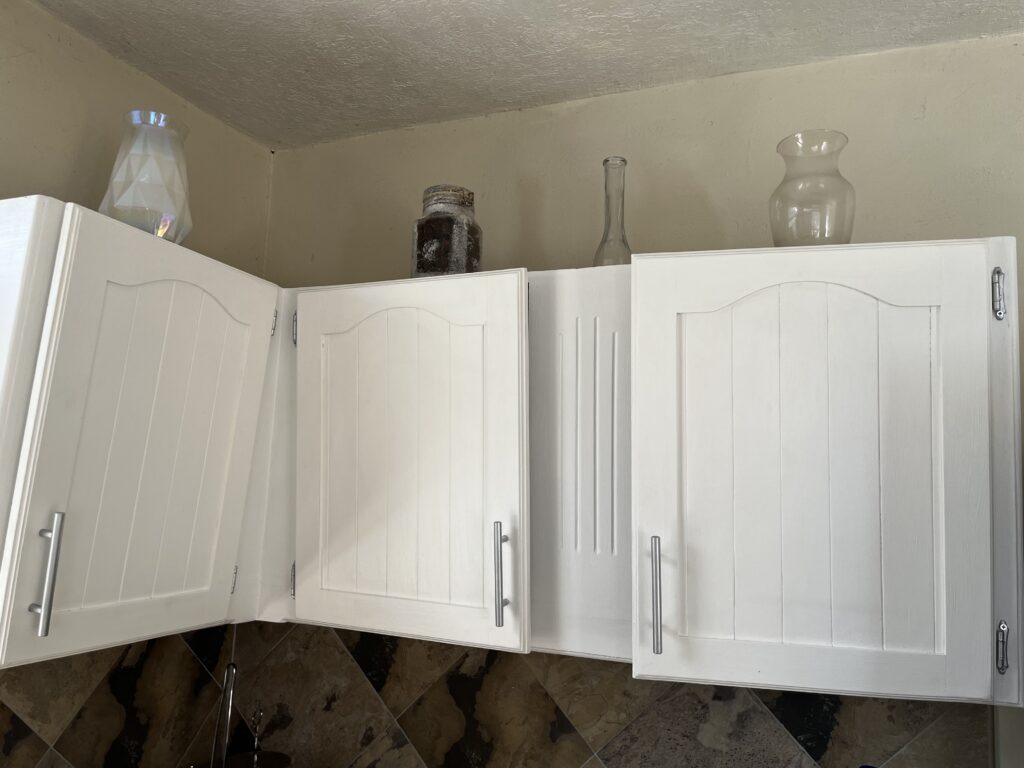
The Final Reveal 🎉🏡
And just like that, my kitchen cabinets are refreshed and ready for the holidays — honestly, they’re ready for the new year too. Clean, bright, and looking brand new.
Watch in Real Time 🎥👀
If you want to see this entire kitchen cabinet refresh happen in real time, I vlogged the whole process for you. Click the video below, watch the madness unfold, and let me know what you think!
TTYL 💕