So guess what… remember the DIY side part sew-in that I couldn’t believe I did myself?
Yeah. That one.
Well BABY — I did it again 😭👏🏽
But this time?
A middle part quick weave… with LAYERS.
Like hello??? Who am I???
At this point I should open a salon because the way I’m out here transforming myself is actually wild.
But anyways… let’s get into it because the sew-in era had to end.
She Was Cute… But She Had to Go 😌💔
It was time for my sew-in to come out.
She was cute. She served. She did her big one.
But my scalp?
My scalp said “ma’am, it’s time.”
I had the vision for the middle part style… I just didn’t know how I was gonna execute it.
So you already know where I went.
Straight to YouTube University 🎓
Watched a few tutorials, took some mental notes, and boom —
I’m basically a professional now.
What I Bought for My Quick Weave Install 🛍️
I popped into the beauty supply and grabbed:
• 2 packs of #4 Empire Yaki Straight (12 inch)
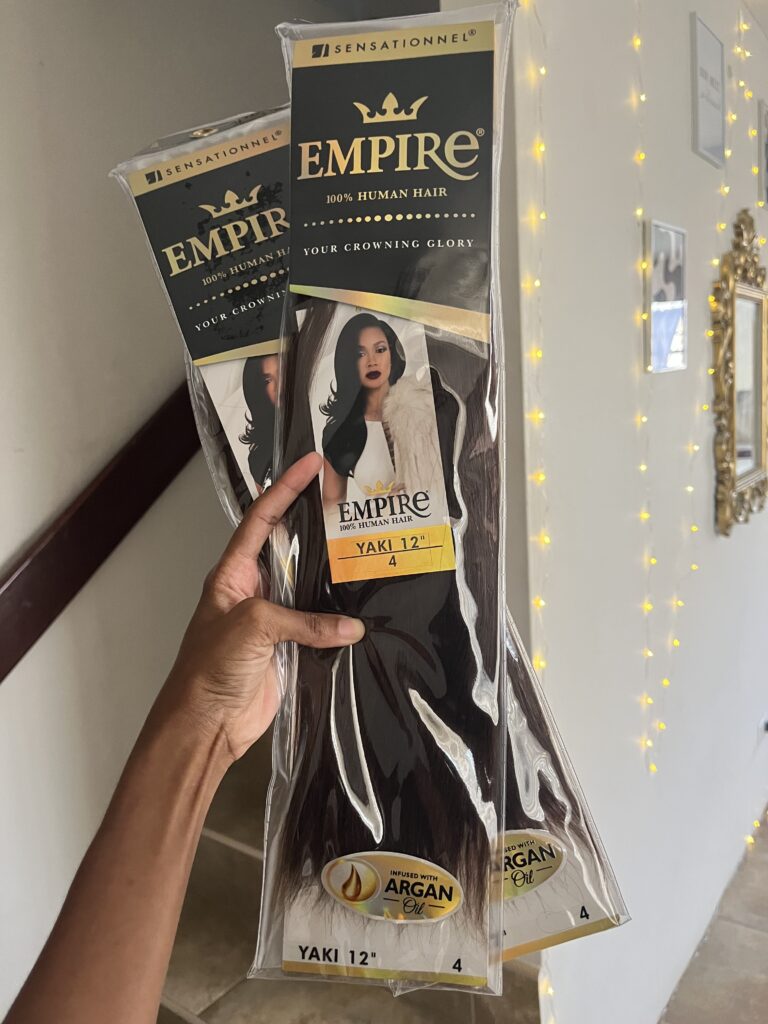
We got the goods.
Now let’s do the hair 😌✨
Hair Prep Is Mandatory, Not Optional 🧼
Before we even THINK about installing anything, we cleanse.
I used my Olive Oil Shampoo (forever a fave).
I’ve tried other shampoos, but somehow I always come back to this one.
For deep conditioning, I used the Silicon Mix Bambu Treatment.
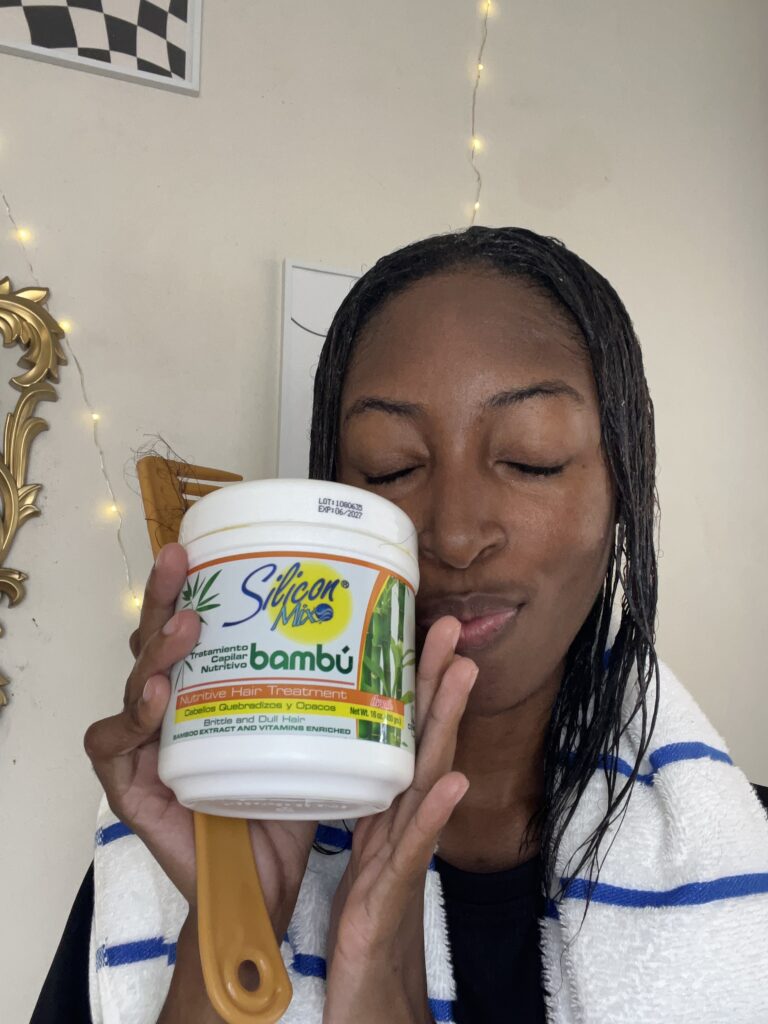
Yes, I usually use it on my bundles — but it’s also amazing for dry hair.
Clean hair = happy scalp = better install.
How to Install a Middle Part Quick Weave with Layers 💁🏽♀️
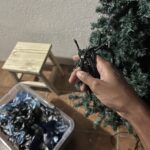
Step 1: Braid Down
Nothing fancy.
Just flat, neat, and secure.
Step 2: Oil Your Scalp
Believe it or not guys, I forgot this step but don’t be like me… you just might have to suffer the consequences 😭
Step 3: Put On a Cap
Grab your stocking cap, wig cap… it doesn’t matter… just get a cap. Trust me you do not want to stick the tracks directly onto your hair. Unless you wanna look like caillou afterwards. Your call 😂🫢
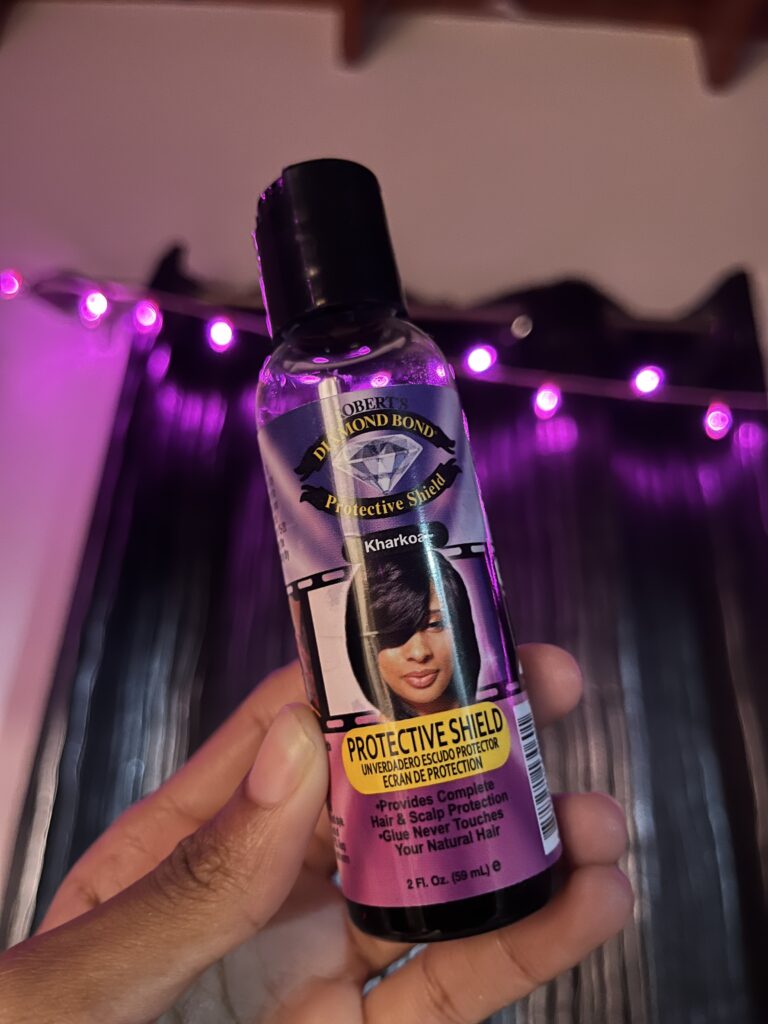
Step 4: Apply the Protective Shield
Evenly coat everything except your leave-out.
I did two layers because absolutely not.
No glue will be getting in my hair.
No ma’am. No sir.
Step 5: Blow Dry
And I mean BLOW DRY until the product has hardened.
If it’s not fully dry, the glue will seep through.
Think of it like slime.
Sticky + wet = disaster.
Step 6: Cut the Excess Cap
Once dry, cut around the perimeter and your leave-out.
This is when it starts to feel like you’re getting somewhere 😌
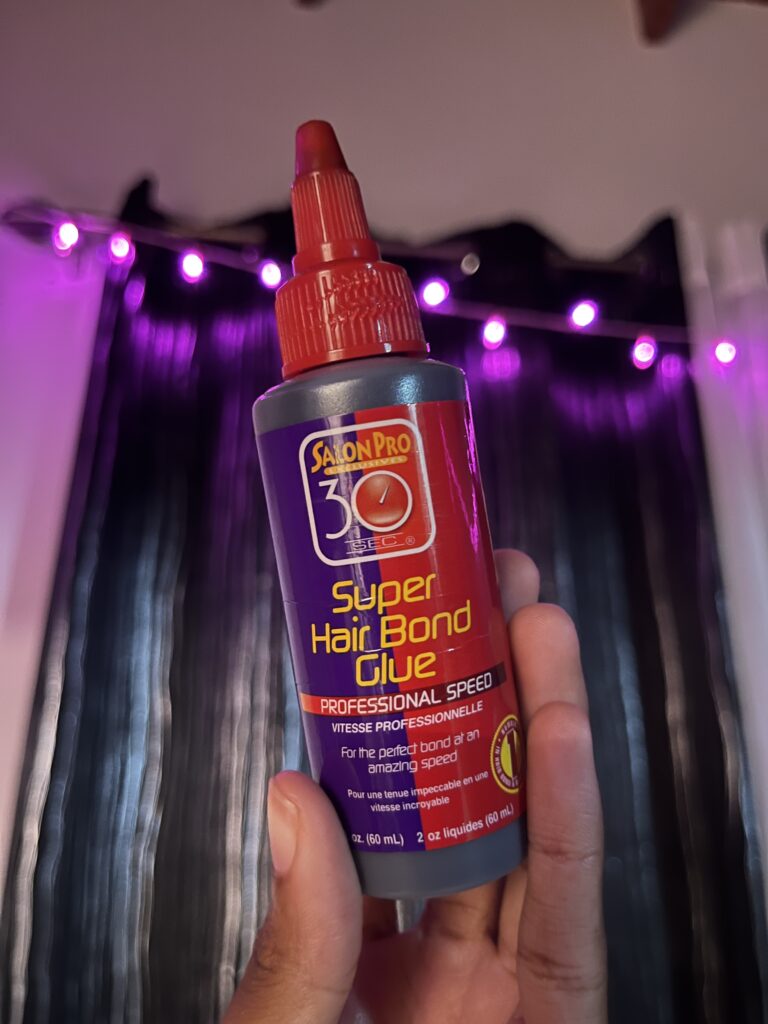
Step 7: Install the Tracks
Measure across your head.
Cut the track.
Add glue.
Stick it down.
Repeat until you reach the crown.
For my curtain bangs, I glued in a U-shape from my leave-out to the other side.
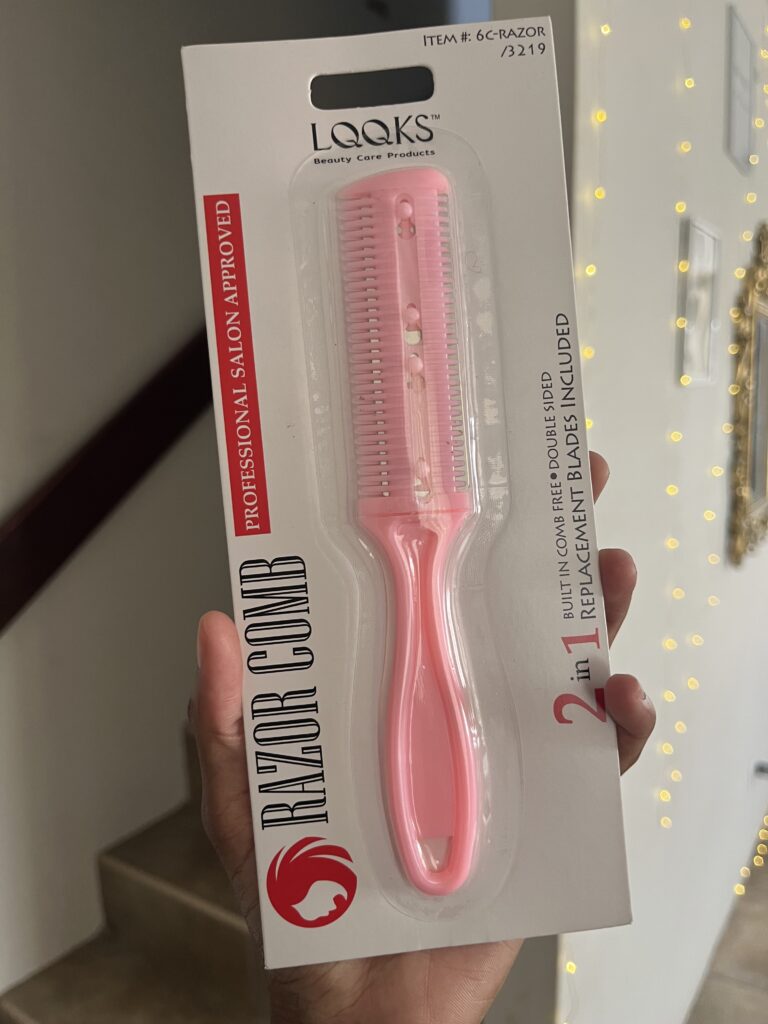
Step 8: Cut the Layers
The scary part 😭. I’m just kidding lol. Not really.
Use a razor comb (a lot easier for beginners) or scissors.
Take small sections and cut lightly in a diagonal direction.
Frame the face with the bangs that you’re about to create. Keep them long or go as short as you want. It’s totally up to you.
Trim the ends.
Take your time unless you want to cry later.
Step 9: Style It
Now this step is definitely about preference but I used my flat iron to straighten my leave out and my curling iron to achieve the curls. It’s very simple, all I did was take a section of hair, curled it under to achieve bumped ends, repeat the process until the end and boom… a masterpiece.
Step 10: Beat Your Face
And take all the pictures you want… maybe send them to vogue magazine because it looks THAT GOOD!
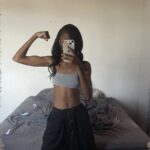
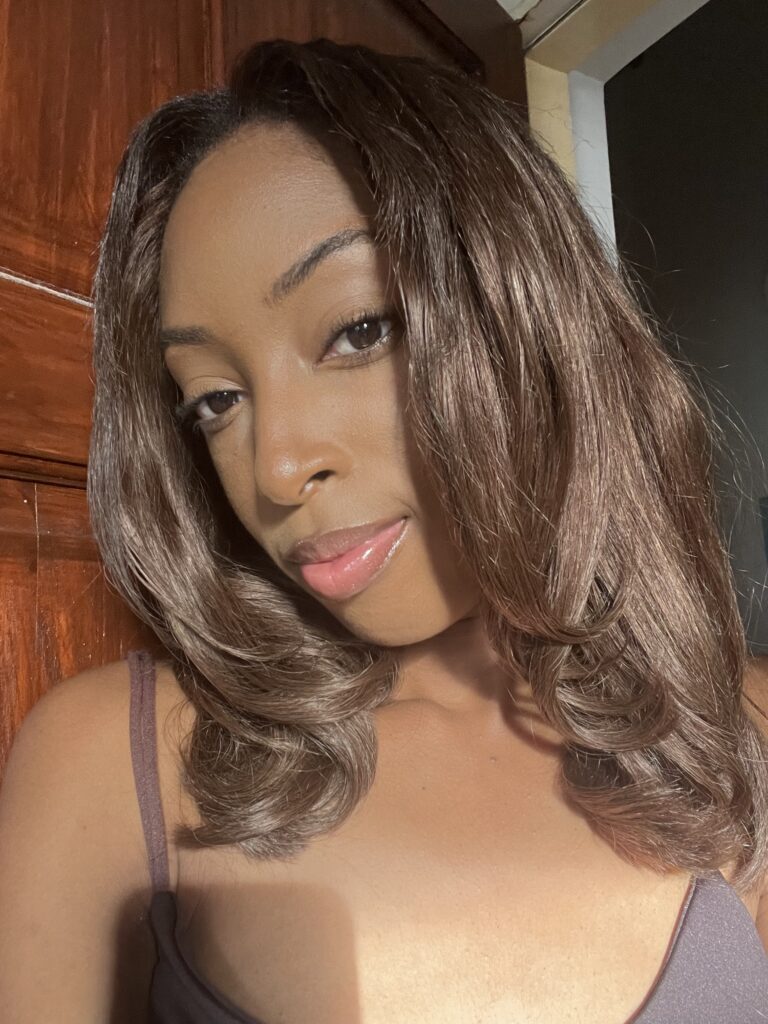
The Final Look 😌✨
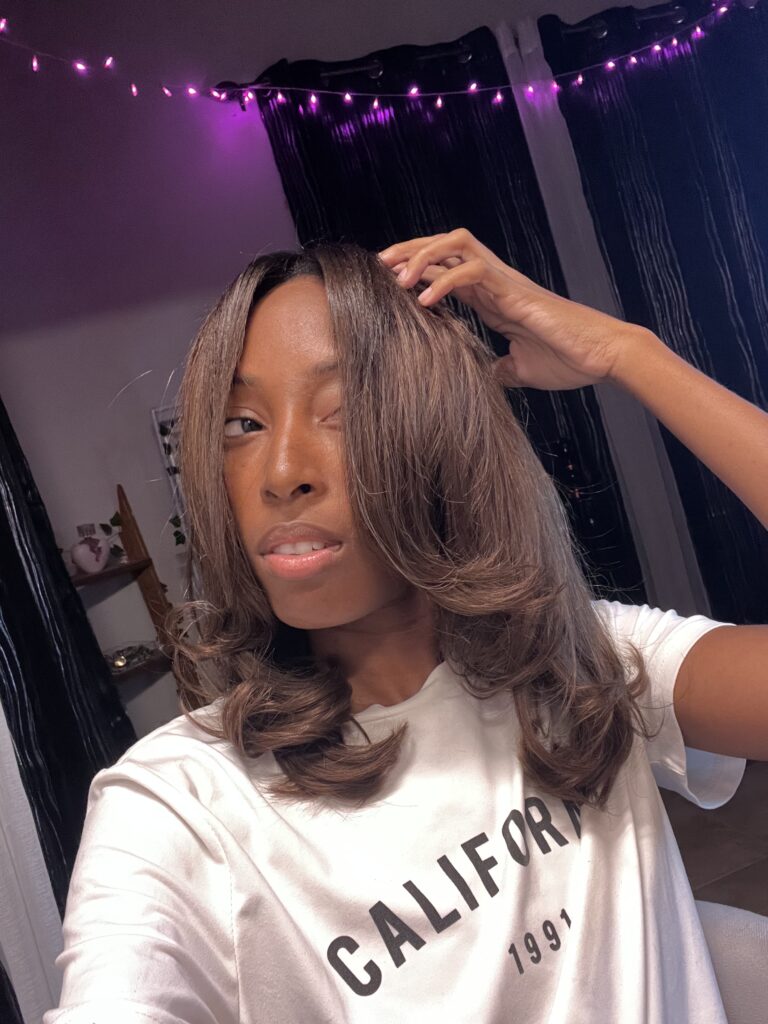
I’m not gonna lie…
This quick weave ATE.
It was cute, simple, and way less time-consuming than a sew-in.
I’m officially a quick weave girlie now.
Let me know what you think!
Leave a comment, share with a friend, and maybe even try it yourself!
YouTube tutorial dropping soon 👀🎥