

Disclosure: This post contains affiliate links. I may earn a commission from qualifying purchases at no extra cost to you. 🩷
Hey Squad! I’m back with another DIY PROJECT! A DIY CLOTHING RACK! But before we start, let me just say Happy Easter to everyone! I hope you are having a lovely longggg weekend, filled with lots of eggstra fun activities – I for sure have some to share! (coming up after this, shhhh 🤫)🐣💐🐇. Now let’s get into why we’re here!
So boom. I used to dream about having one of those Pinterest aesthetic clothing racks… you know, the cute, minimal, perfectly styled ones that look like nobody actually wears clothes in real life 😭✨
Meanwhile, your girl was working with a clothing rack from SHEIN for a good few years.
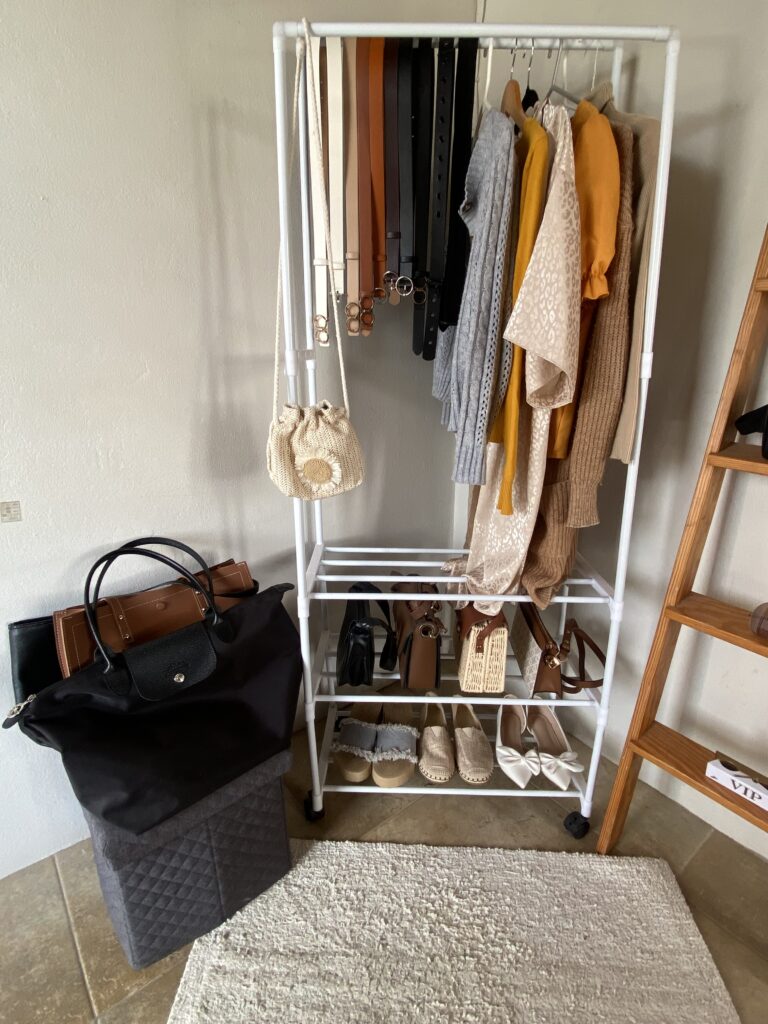
And listen… it did the job.
But in my opinion? It was NEVER sturdy enough. Sometimes I felt like if I looked at it too hard, it would collapse.
LOL. I’m not even joking.
I mean, I made it look cute or whatever… but it was time for her to go 💀
🪵 Why I Wanted a Wooden Clothing Rack
I knew I wanted a wooden clothing rack because:
- It’s way more durable
- It can actually hold the weight of my clothes (very important 😭)
- And most importantly… it fits the aesthetic room decor vibe I’m going for
But BABYYY — have you seen the prices?!
Aesthetic, minimalist clothing racks are cute… but they are NOT budget-friendly.
🛠️ Mr. DIY Himself 🥹💕
Luckily for me, my boyfriend specializes in joinery and carpentry, so instead of buying one…
He BUILT me one.
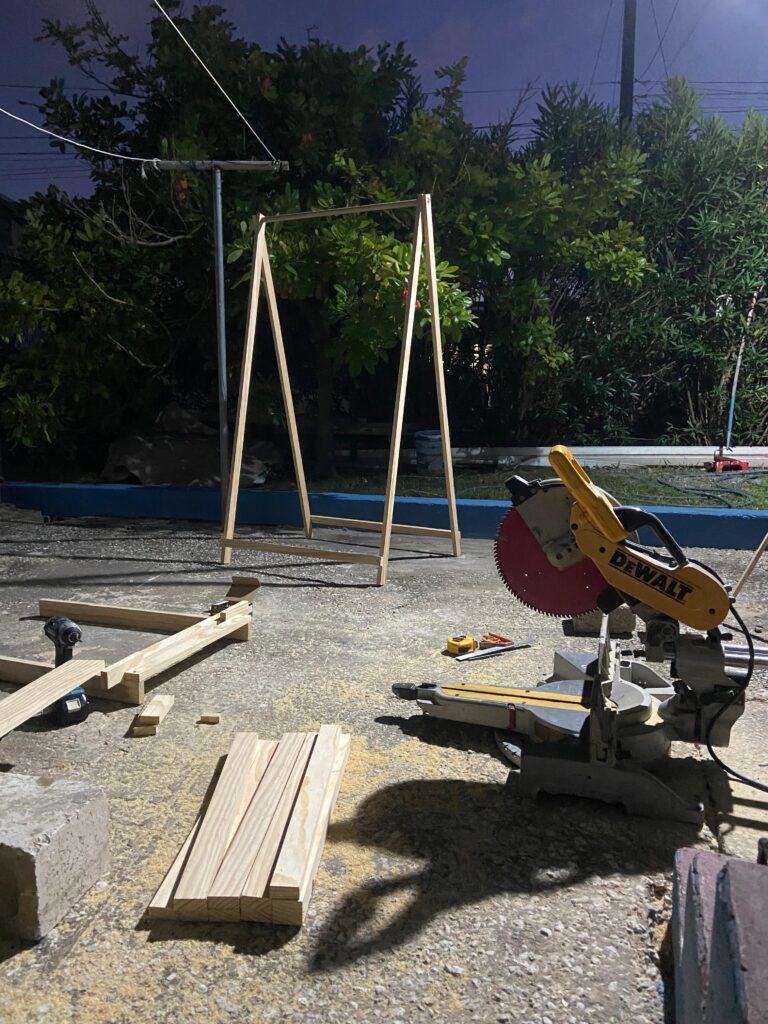
Yes. Built. From scratch.
I’m living happily ever after. The end.
…Kiddinggg 😭 but also not really.
Another budget-friendly decorating project
🔨 What He Used to Build My DIY Clothing Rack
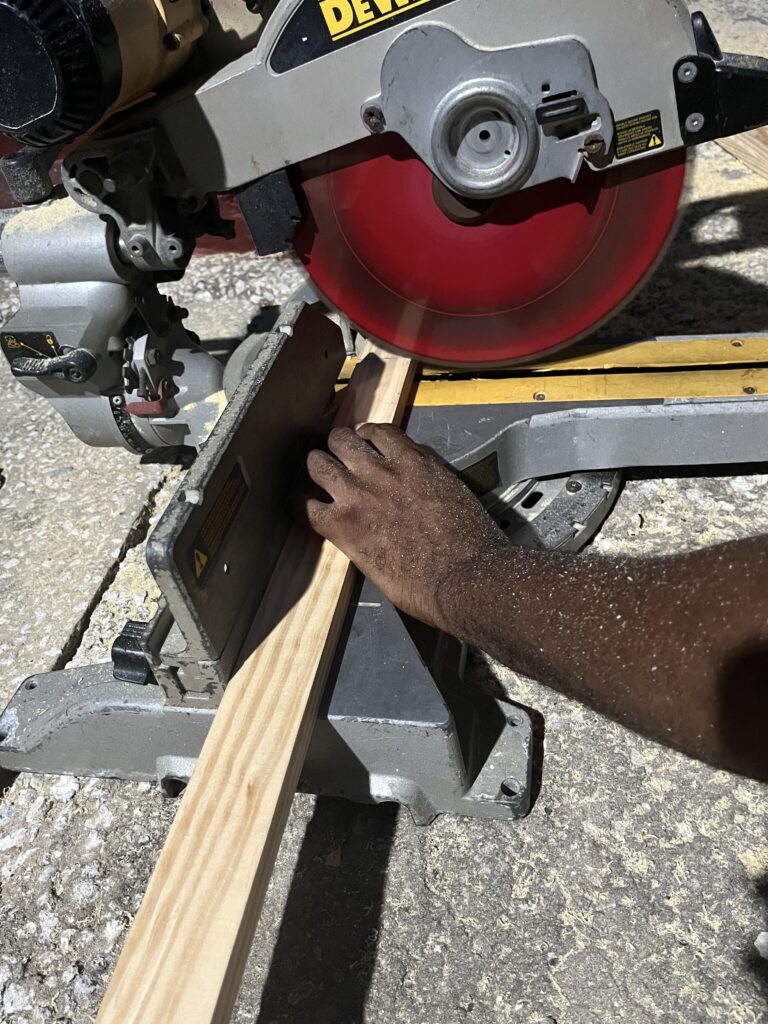
If you’re looking for a DIY clothing rack build, here’s what we used:
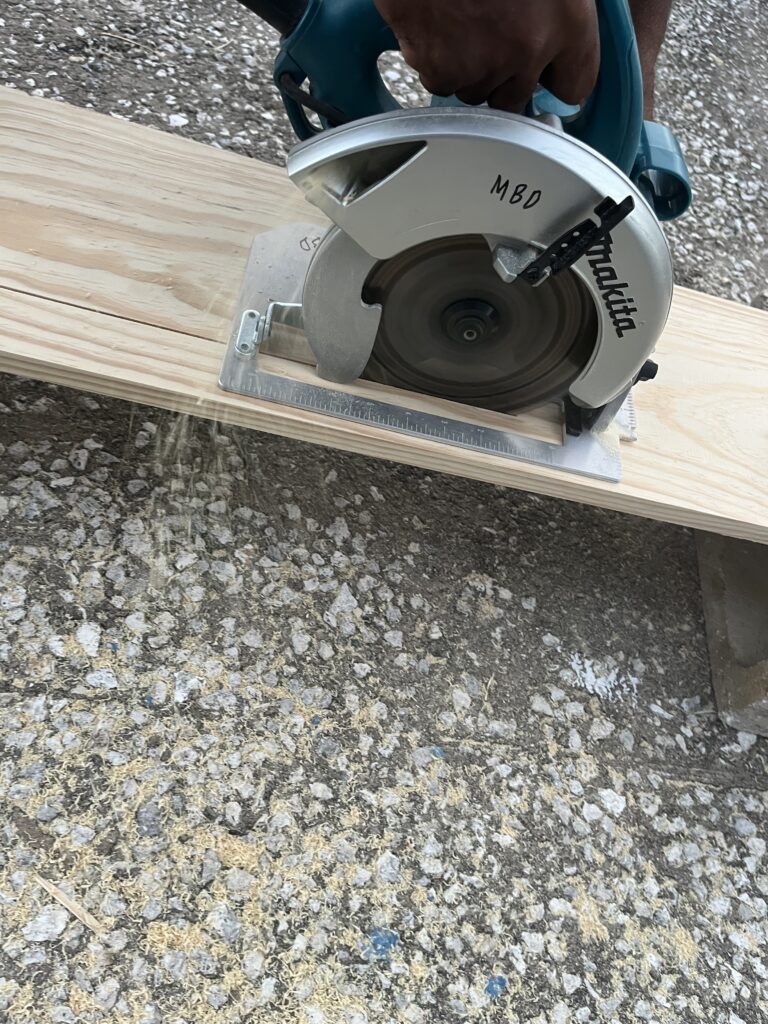
- Drill
- Screws
- Untreated pine wood (for that natural aesthetic 🌿)
- Circular saw
- Chop saw
- And of course… my Pinterest inspiration board 💅🏽
⏱️ How Long Did It Take?
The whole project took about 4–5 hours total, spread across two evenings.
And honestly? It would’ve been quicker… but the drill decided to act up 🙃
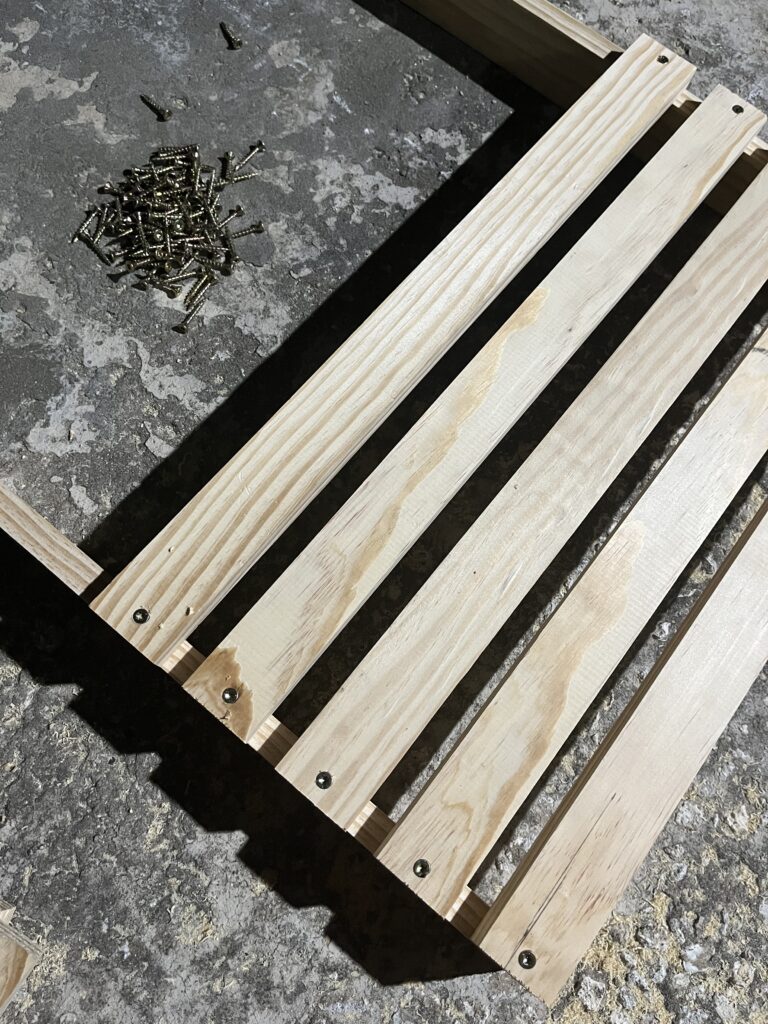
We had to pause, get it checked, and now it needs replacing. On top of that, we realized we needed a few extra materials.
It’s always something, right? Sigh 😭
But overall, it really wasn’t a hassle at all.
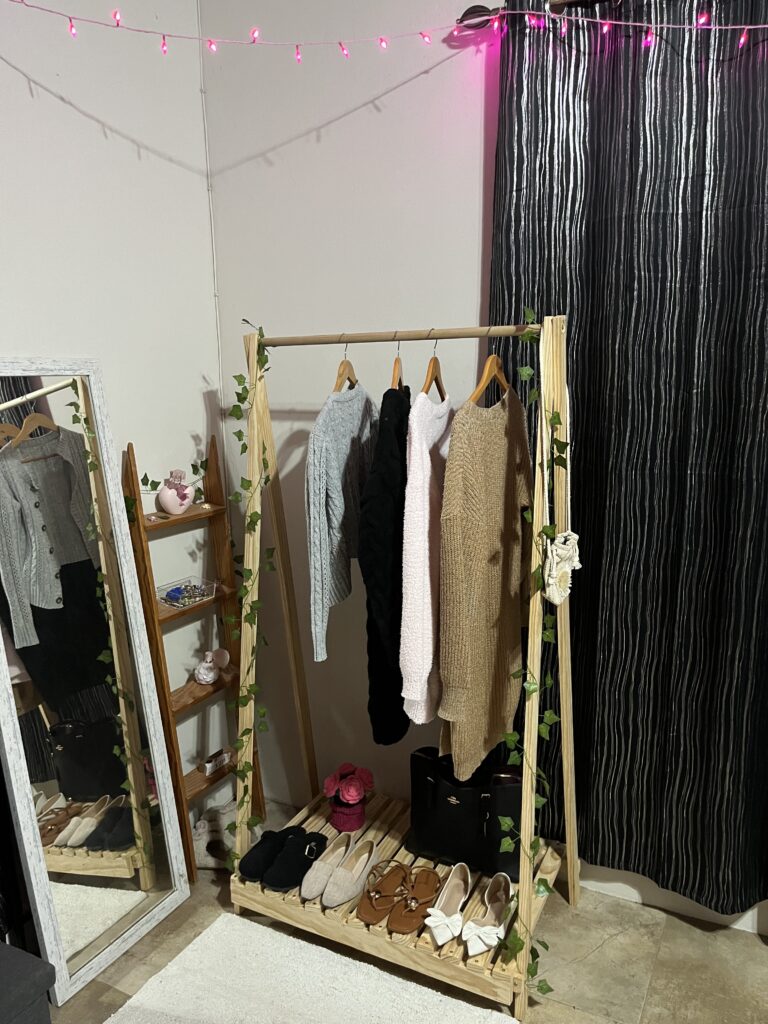
✨ The Final Result (aka My Dream Setup)
When I tell you it turned out EXACTLY how I imagined… I mean that.
This DIY clothing rack added the PERFECT touch to my room. It’s giving:
- Clean
- Minimal
- Aesthetic
- Pinterest but make it real life
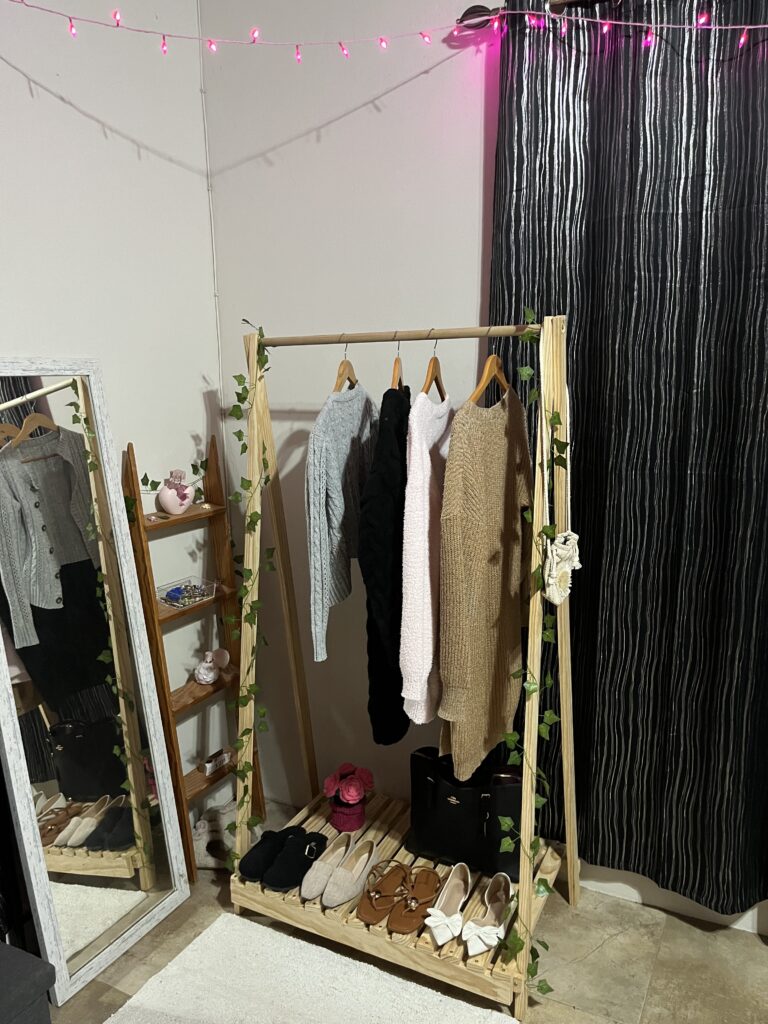
I may or may not add another shelf for extra storage 👀 (let me know what you think!)
And eventually, I’ll probably rearrange my room so it has a whole new area to live in. 😄
But for now? I’m obsessed.
Also… can we talk about the vines?! They add such a whimsical, soft girl aesthetic touch 😍✨
✅ Pros & Cons of a DIY Wooden Clothing Rack
✔️ Pros:
- Stylish and aesthetic
- Durable and sturdy
- Eco-friendly 🌿
- Collapsible and easy to move
- Perfect for small businesses or clothing displays
❌ Cons:
- Wood can be damaged by moisture (please don’t hang wet clothes 😭)
- Not the most compact option depending on your room size
💡 Is a DIY Clothing Rack Worth It?
Honestly? YES.
But it really comes down to your lifestyle, your space, and how you plan to use it.
If you love aesthetic room decor, need a budget-friendly storage solution, or just want something a little more custom…
This is 100% worth considering.
Refreshing my space for a new season
🎥 Watch the Full Build Process
If you’re thinking about recreating this, make sure to check out my YouTube video!
I vlogged the entire process — from start to finish 👀✨
💬 Final Thoughts
10/10 would definitely recommend.
Moral of the story:
Get you a man who can build… but also measure properly because you might just end up with a disaster 😭.
2 responses to “DIY clothing rack on a budget 💕 | my boyfriend built me the cutest room upgrade”
-
Now I want one
-
Omg, yess! 🥹💖 it’s honestly one of my fave DIYs so far! Let me know if you do go through with it!!
-









Leave a Reply